
Showing posts with label Candles. Show all posts
Showing posts with label Candles. Show all posts
04/10/2017

17/12/2015
Standard China

My sister spotted this beautiful cup and saucer set in the charity shop.

Royal Albert

I was very excited to spot this teacup in the charity shop. I quickly turned it into a candle for a present.

Use of the name 'Royal Albert' dates from c.1904. Early marks (pre-c.1922) include a crown surrounded by a garter carrying the words 'Royal Albert Crown China' and the initials 'TCW'. From c.1917 to c.1935 the crown is surrounded by the words alone with the word 'England' beneath. Post 1935 marks use the words 'Royal Albert Bone China'. Many variations occur and the pattern name is often included. Elaborate floral backstamps are common on post-1945 wares.
Royal Albert Ltd marks include a multicolour floral spray, the pattern name and the company name. 'Royal Albert' was registered as a trade name in 1993 and in 2005 it became a Waterford-Wedgwood fine china brand.
12/09/2015
Candle Making

29/08/2015
Candle

13/08/2015
Candle Making

08/07/2015
Candle making
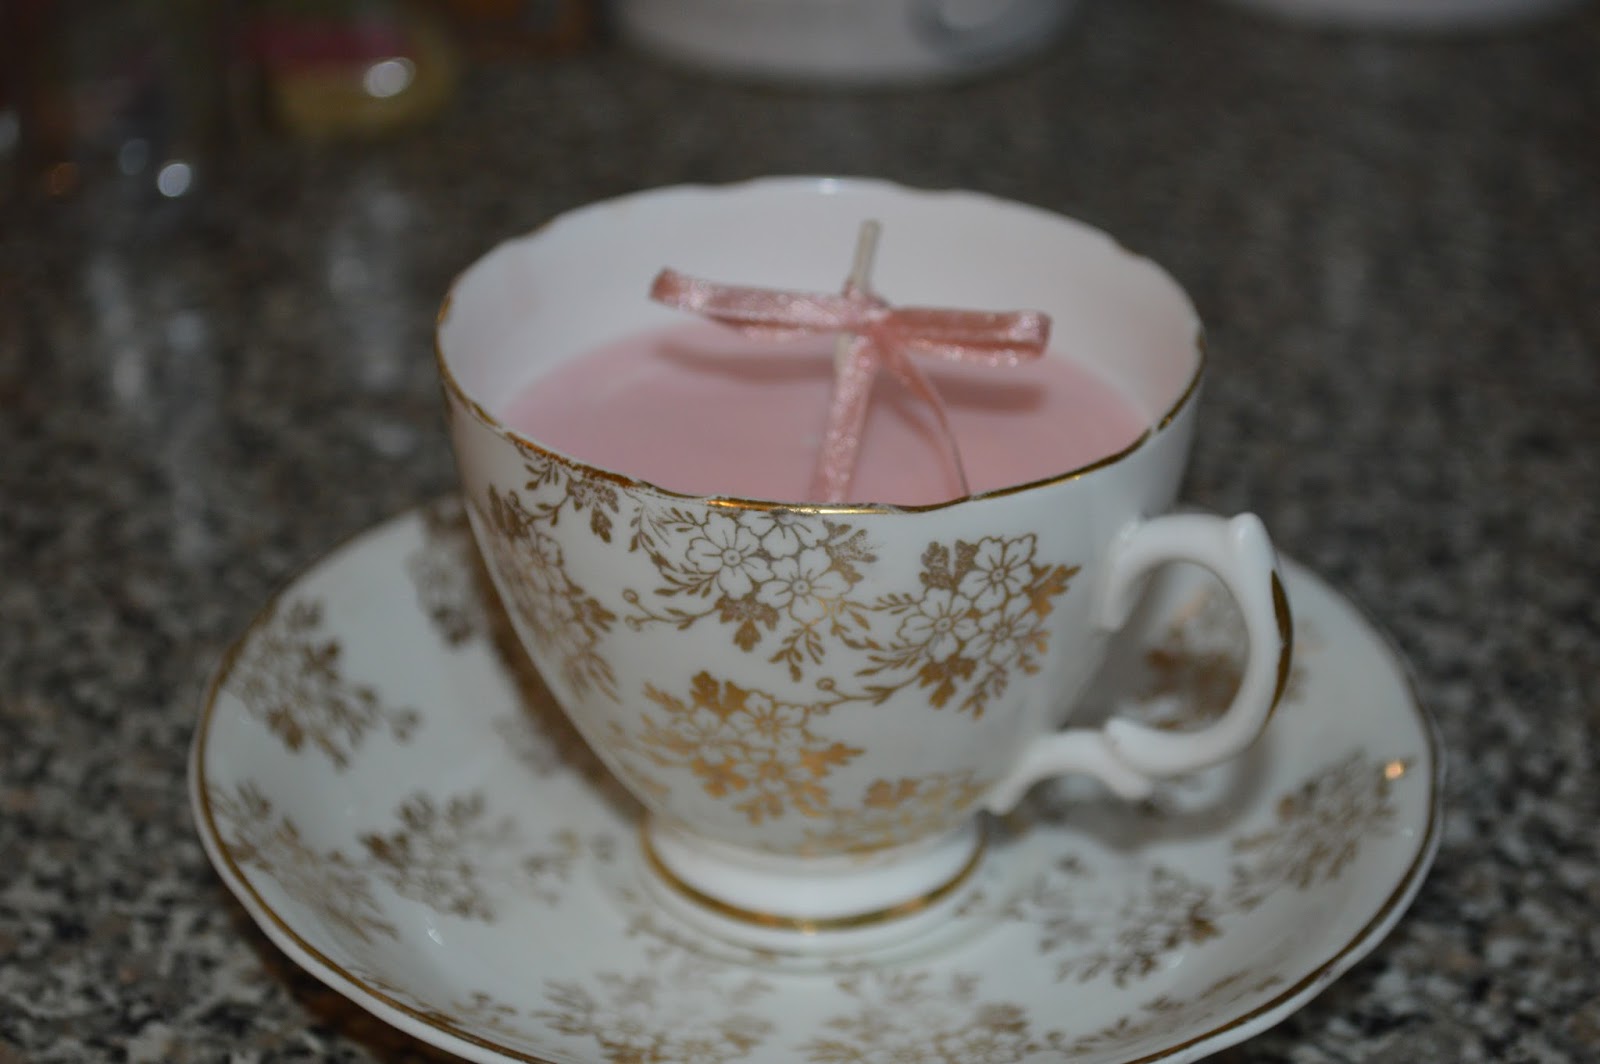
Step 1: Find a teacup in a charity shop or at a car-boot sale - check it's not cracked -and stock up on wicks and wax.
Step 2: Cut a wick 2in longer than the depth of the cup. Tie one end to a pencil and rest the pencil across the cup so the wick hangs down in the centre.
Step 3: Put candle stubs or wax in an old pan. Put this in a larger pan with an inch of water in the bottom. Heat gently until the wax is liquid, then turn the heat off.
Step 4: For scented candles, add a few drops of essential oil, then pour the wax into the cup.
Step 5: Leave to harden, then trim the wick until 1cm is left. Leave for at least 24 hours before lighting.
This candle smells of strawberries. :)
28/04/2015
Candle making

Create the perfect finishing touch with this step-by-step guide.
Step 1: Find a teacup in a charity shop or at a car-boot sale - check it's not cracked -
and stock up on wicks and wax
Step 2: Cut a wick 2in longer than the depth of the cup. Tie one end to a pencil and rest the pencil across the cup so the wick hangs down in the centre.
Step 3: Put candle stubs or wax in an old pan. Put this in a larger pan with an inch of water in the bottom. Heat gently until the wax is liquid, then turn the heat off.
Step 4: For scented candles, add a few drops of essential oil, then pour the wax into the cup.
Step 5: Leave to harden, then trim the wick until 1cm is left. Leave for at least 24 hours before lighting.

I then wrap my candles up in cellophane and tie a ribbon round and they are ready to give out to family and friends. They make a great gift.
23/04/2015
Display

I love the way the tea cups light up when the candles are lit.
Have you tried making candles in teacups yet? It is very easy to do. Have a look in the drop down menu on the page for the instructions.
16/04/2015
Candles in tea cups

Step 1: Find a teacup in a charity shop or at a car-boot sale - check it's not cracked
and stock up on wicks and wax
Step 2: Cut a wick 2in longer than the depth of the cup. Tie one end to a pencil and rest the pencil across the cup so the wick hangs down in the centre.
Step 3: Put candle stubs or wax in an old pan. Put this in a larger pan with an inch of water in the bottom. Heat gently until the wax is liquid, then turn the heat off.
Step 4: For scented candles, add a few drops of essential oil, then pour the wax into the cup.
Step 5: Leave to harden, then trim the wick until 1cm is left. Leave for at least 24 hours before lighting.

Waiting for the wax to harden.
22/03/2015
Candle making

Step 1: Find a teacup in a charity shop or at a car-boot sale - check it's not cracked.
Step 2: Cut a wick 2in longer than the depth of the cup. Tie one end to a pencil and rest the pencil across the cup so the wick hangs down in the centre.
Step 3: Put candle stubs or wax in an old pan. Put this in a larger pan with an inch of water in the bottom. Heat gently until the wax is liquid, then turn the heat off.
Step 4: For scented candles, add a few drops of essential oil, then pour the wax into the cup.
Step 5: Leave to harden, then trim the wick until 1cm is left. Leave for at least 24 hours before lighting.
12/01/2015
Candle in cup


14/12/2014
Candle making

This is what you need to make them:
- 4 Vintage teacups (I found some of these at our local charity shop). It doesn’t matter if the cups and saucers are mismatched either.
- a cooking thermometer (it needs to be able to measure up to 300F/150C – I bought one from my local craft store
- a double boiler. I don’t have a double-boiler, so I balanced a small metal pan – with a spout for pouring the wax – inside a large saucepan on the stove, then added boiling water to the large saucepan and adjusted the heat on the stove to keep the water bubbling, but not boiling over. If the water runs low, you can top it up using a pre-boiled kettle (the large saucepan must not run dry).
- a little blue-tac or 4x glue dots
- approx 500g eco soya candle-making wax flakes for containers
- pre-waxed wicks for candle-making (I used 80mm length and cut them down a little once the candle had set)
- 2-3ml natural fragrance oil (make sure you do not use alcohol or water-based fragrance).
29/11/2014

24/10/2014

Candle Making

1 Pour your flaked wax into a double boiler or a pan placed on top of another pan of water. Work out how much wax you'll need by filling the teacup with water and weighing it. Melt the wax, heating to 49°C to 82°C. Add scented oils if using. The ratio of fragrance to wax is eight per cent, but do weigh it as some oils are heavier than others. Mix in the oil using a metal whisk.
2 Place the wick in the centre of the cup. It will come fixed to a metal disc enabling it to stand up. Wicks come in various sizes and the one you need will depend on the width of your container. Most suppliers will have a size guide.
3 Once you've melted the wax, slowly pour it into the teacup, filling it to the top. You should have some wax left over - you'll need this for the second pour. Hold the wick in the centre by placing it between two pencils balanced across the cup.
4 Once the candle is completely cool to the touch, do your second pour. Wax shrinks as it cools so a crevice will develop in the centre. Heat the leftover wax to 10°C hotter than the first time and stir again for a couple of minutes. The wax needs to be hotter when you top up the container as this will give you a nice smooth surface once it's cooled.
5 Leave the candle to cool and harden thoroughly and then trim the wick to 1cm before lighting.

Have a good day
13/05/2014
Wedding ideas


Step 1: You can find teacups in charity shops or at a car-boot sale - check that they are not cracked.

Step 2: Cut a wick 2in longer than the depth of the cup. Tie one end to a pencil and rest the pencil across the cup so the wick hangs down in the centre.
Step 3: Put candle stubs or wax in an old pan. Put this in a larger pan with an inch of water in the bottom. Heat gently until the wax is liquid, then turn the heat off.
Step 4: For scented candles, add a few drops of essential oil, then pour the wax into the cup.
Step 5: Leave to harden, then trim the wick until 1cm is left. Leave for at least 24 hours before lighting.
01/05/2014
Relax.....

it's Thursday
Have you ever tried making candles in tea cups? They make lovely gifts and are very simple to make once you know how!
Step 1: Find a teacup in a charity shop or at a car-boot sale - check that it's not cracked.
Have you ever tried making candles in tea cups? They make lovely gifts and are very simple to make once you know how!
Step 1: Find a teacup in a charity shop or at a car-boot sale - check that it's not cracked.
Step 2: Cut a wick 2in longer than the depth of the cup. Tie one end to a pencil and rest the pencil across the cup so the wick hangs down in the centre.
Step 3: Put candle stubs or wax in an old pan. Put this in a larger pan with an inch of water in the bottom. Heat gently until the wax is liquid, then turn the heat off.
Step 4: For scented candles, add a few drops of essential oil, then pour the wax into the cup.
Step 5: Leave to harden, then trim the wick until 1cm is left. Leave for at least 24 hours before lighting.
Subscribe to:
Posts (Atom)